

Decentralized Social Graphs

Blockchain Software Engineer and Educator.I enjoy creating content ,coding and sharing my journey and what I learn about Web3.
The rapid evolution of the internet over the last two decades has led to the unprecedented growth of social network sites and how we communicate and share our data. However, Privacy concern issues and recent scandals have proved the inefficiencies in the social network. Thus researchers thought of alternatives to the social sites we have been using and as a result the innovation of decentralized social graphs.
This article will discuss what a social graph is and highlight how different it is in web2 and web3. It will also give a deep insight into one of the decentralized social graphs and how you can build on the protocol.
What is a social graph?

A social graph is a digital representation of an interconnection of relationships in an online social network. What that looks like today is the patterns we have with applications where a user creates an account with a profile, post content, and follow other users. There is a curated feed of the content they get recommended to them. Every time you post a photo or follow someone new you are adding to your social graph.
Comparison between Web2 & Web3 Social Graphs
Web2 social media favors content that is liked and reshared. Most Web2 platforms and social networks’ aim was to increase the user base and traffic. This led platforms like Spotify to integrate the social feature. The social graphs used on Twitter and Meta usually filter what you like and serve that to you. Users have no choice but to get engrossed in what centralized algorithms choose for them. Privacy concerns are on the rise when users think of their data. Some of the questions that always arise are Would anyone enjoy their “listenings” to be shared? Would anyone enjoy having their social graph owned by one corporation and sold to advertisers?
With the information presented to us on web2 social platforms, we do not understand how their social graph is structured under the hood, whereas with the decentralized social graph developers can build apps on it.
With Web2 social platforms, they always think of ways to bring in more users whereas it’s the complete opposite on protocols where Web3 social apps are built since the users already exist therein. They are built on top of blockchain technology thus the user’s data is stored permanently.
User data is not portable in web2, such that when a user posts a video on Facebook it does not automatically show on Tiktok. The idea of Web3 social is to bring power back to the creators by making data self-sovereign.
Few social graphs and decentralized social networks are being developed, One of the decentralized social graphs that this article will focus on is Lens Protocol.
What is The Lens Protocol?
Lens protocol is a software infrastructure that makes it easier for developers to develop social media applications on one composable and decentralized social graph. It is a smart contract-based social media protocol that allows developers to focus on user experience and better algorithms instead of user acquisitions. Any application built on top of the lens social graph can leverage the whole infrastructure.
For users and creators, lens protocol allows you to own the links between them and their communities and monetize in ways that deem fit.
How is the Lens Protocol Social Graph
Since its social graph is decentralized, the approach is different from what we are used to in centralized social graphs. This is how it works:
When you have a common social graph it is accessible by anyone, it allows any developers to build finding you new relationships that might be more interesting to the user. Since it’s an open social graph there can be competition amongst the developers to curate better content algorithms that a user can choose from.
The users can leave one application to another that serves better algorithms without losing their followers and content because everything is on an on-chain social graph.
The social protocol of Lens revolves around the NFT infrastructure layer.
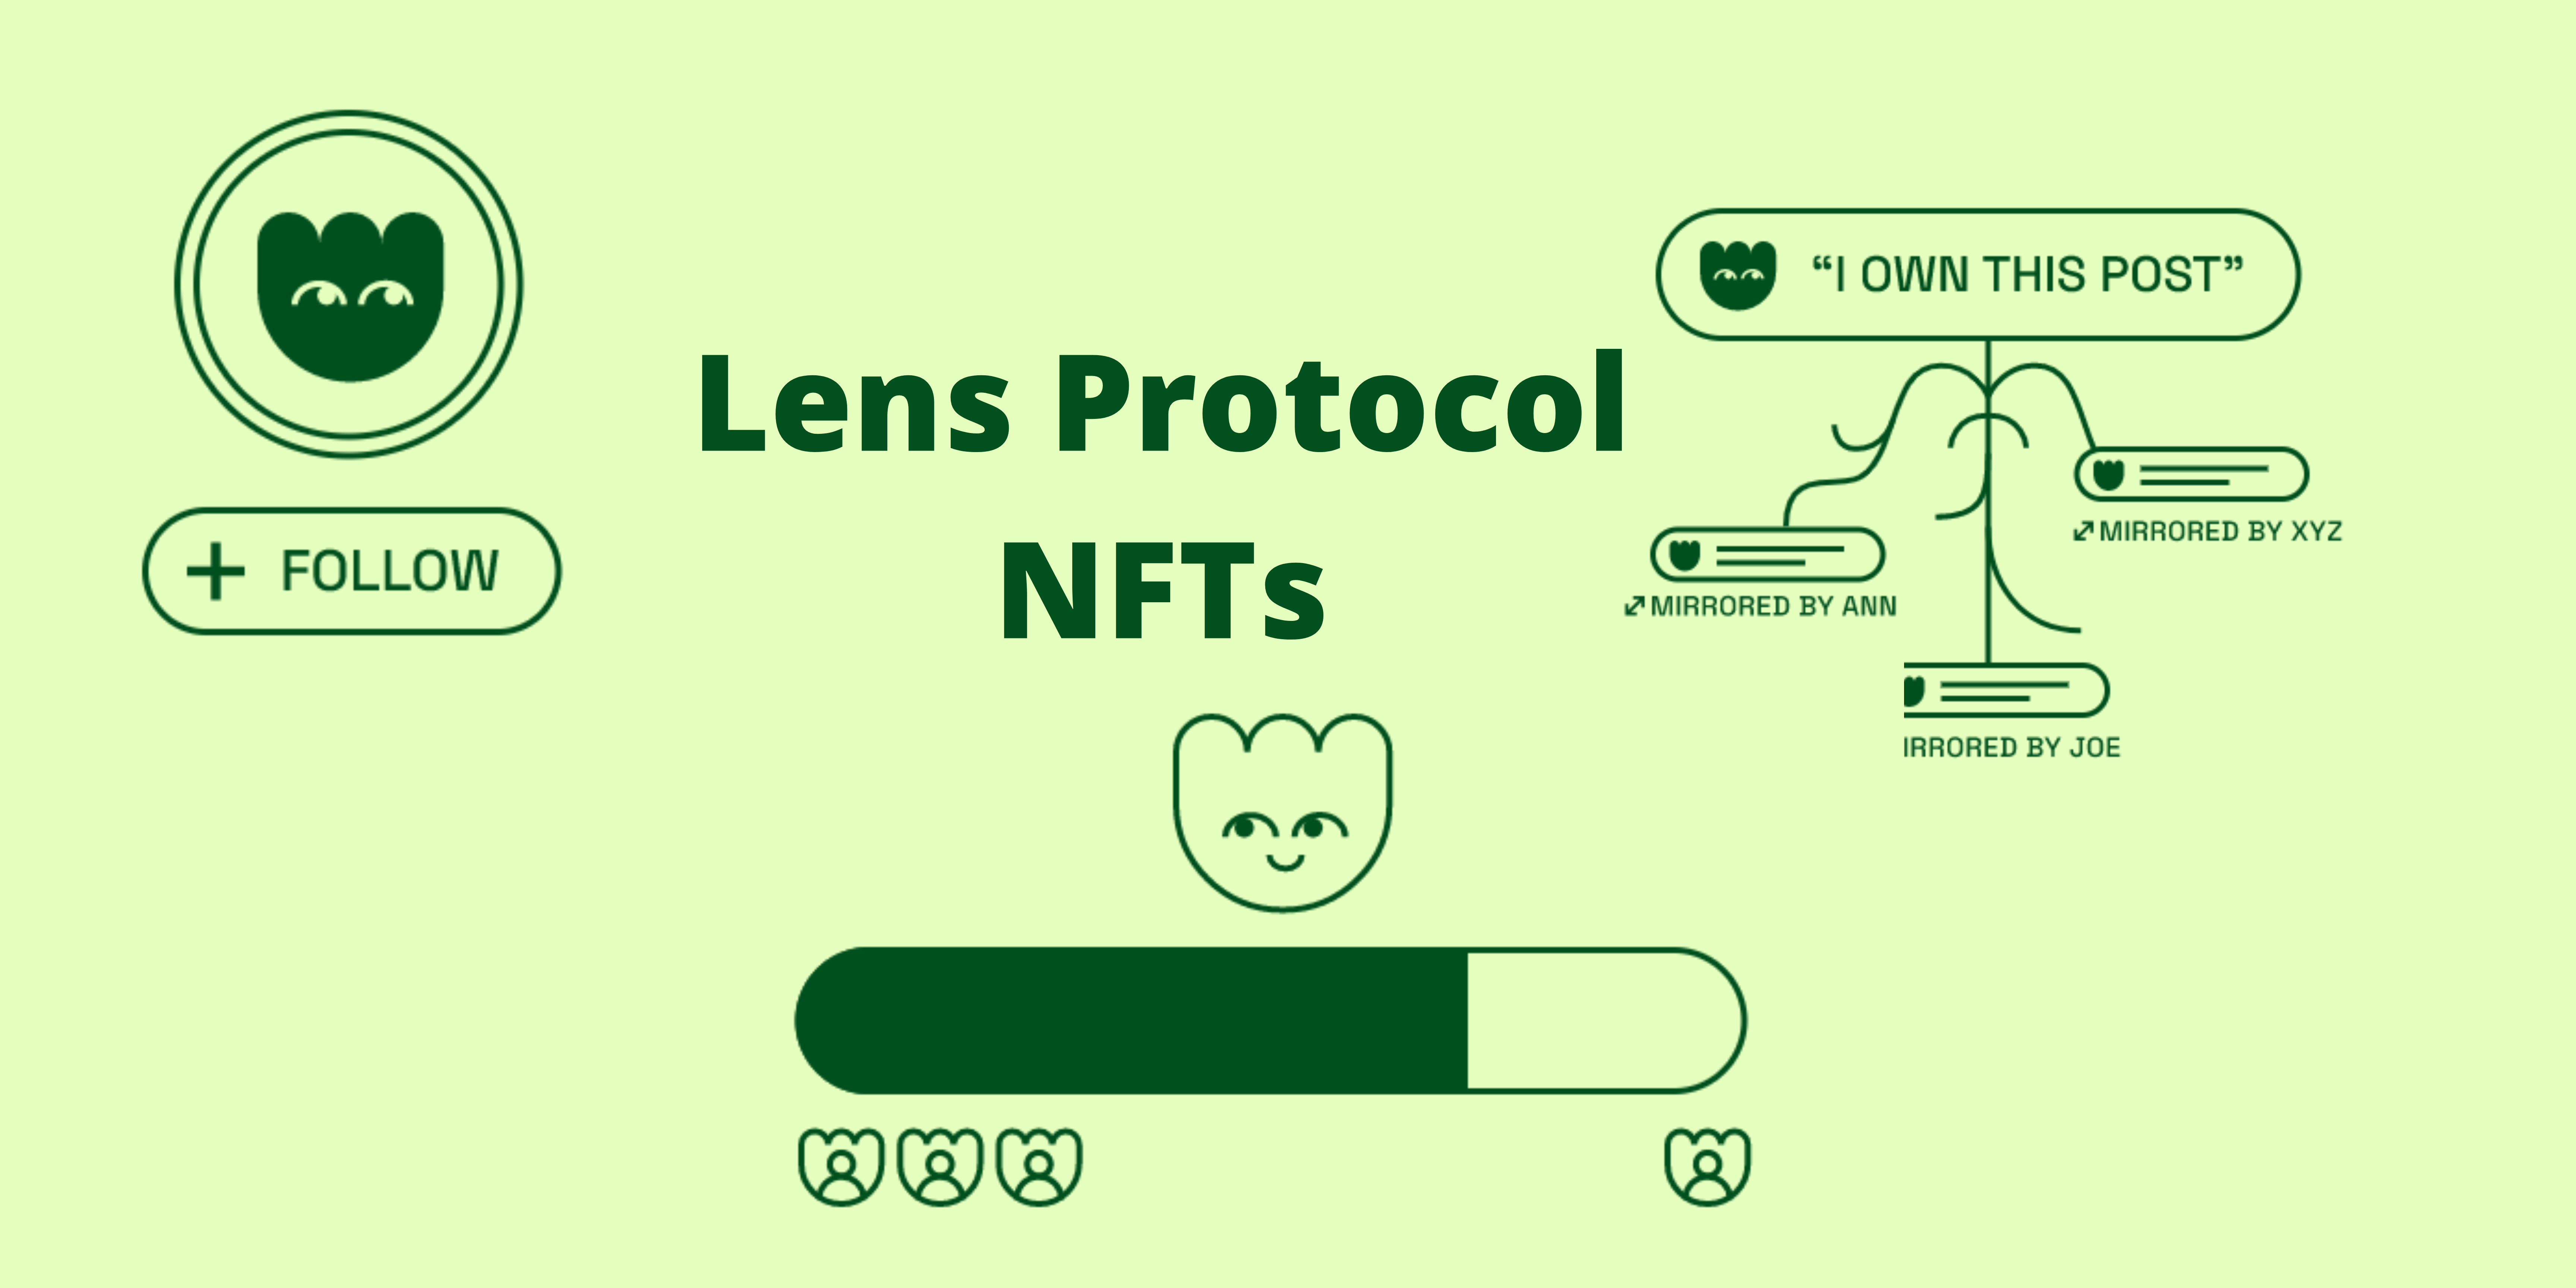
Profile NFTs
Ownership of this NFT gives you control over your content, they are minted upon the creation of the profile.
Follow NFTs
When you follow someone, Lens you will get a unique follow NFT, with in-built rarity and utility such as governance mechanisms and can be used for voting for instance in DAOs.
Mirror and Content NFTs
A user can monetize their content (photos, videos, poems). Once they post their content on the Lens Protocol they can set their collect logic which informs the collectors on terms of payment and how the content will look on their end. For example, you can make your post a monetizable NFT.
You can also be incentivized by amplifying content (Mirroring).
Projects built on Lens
Here are some of the Applications powered by the Lens Protocol:
LensFrens
Allows you to follow profiles based on your web3 footprint
Lenster
Community-built social network
Phaver
A social mobile app built on the Lens protocol integrated with a rewarding token economy
Alps Finance
If you are looking for a community of DEFI investors Alps Finance is the platform for you.
Refract
You can discover new projects, articles and share ideas with the community on Refract.
Sepana
Search engine to discover users, bios, and content on Lens
How to build on top of Lens
On Lens protocol developers focus on the front end and leave modularity and network effect to the protocol. Developers can consume the Lens API to create a variety of use cases and user experiences.
We are focusing on building a full-stack social media application that will display user profiles from Lens and their bios. You will be able to click on a specific profile to view more details about them, You can also search for a profile by name. What you will build will also have functionalities to enable you to connect your wallet, follow the user and see their publications.
Prerequisites
Node.js and Metamask installed.
Knowledge of React (JS) since we will be using NEXT.Js for the front end, but not so mandatory you can still catch up.
An Understanding of GraphQL
Project Set-Up
First, we will need to create a new Next.JS application
npx create-next-app lensapp
then cd into the project folder and install Ethers and urql
yarn add ethers urql graphql
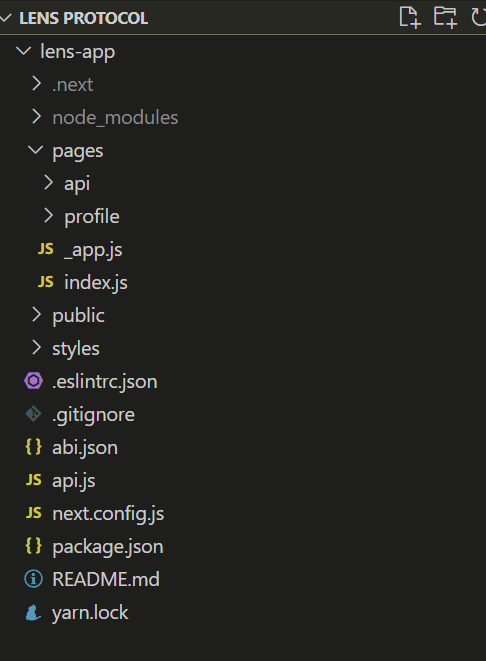
Ethers will allow you to interact with the blockchain. urql allows you to query the lens APIs. This is what your project folder structure should look like.
What we are going to be looking at in the Lens documentation is the profiles and publications APIs. Profiles are the accounts that create publications more like how you operate on web2 social media.
For this tutorial, we will be querying the popular profiles (Recommended Profiles) on Lens Protocol.
https://docs.lens.xyz/docs/profiles
Go to the above link and copy the API detail example operation which is written in GraphQL paste it in a variable ‘recommendProfiles’ that you would have declared in the api.js file that you would have created in the project folder. That is where most of our API queries will be written.We will use the same procedure to query for specific profiles by id and Getting Publications in the api.js file. You can refer to:
https://github.com/Amtaf/Lens-API-FE/blob/main/api.js
Before you proceed further ensure you import the below snippet in the api.js file.
import { createClient } from "urql"
const APIURL =""
export const client = createClient({
    url: APIURL
})
createClient is what we are going to use to create our graphQL client. We are given the APIURL by lens protocol.
Next step we are going to take is go to your index.js file under pages folder that is where will be calling our requests to the frontend.
add the following imports: client and recommendProfiles are from the api.js
import {useState,useEffect} from 'react'
import {client, recommendProfiles} from '../api'
import Link from 'next/link'
import Image from 'next/image'
create an async function to fetchProfiles and use the client to query the recommended profiles. We also write a useEffect() method to render the recommended profiles immediately when the page loads.
export default function Home() {
  const [profiles,setProfiles] = useState([])
  useEffect(()=>{
    fetchProfiles()
  },[])

  async function fetchProfiles(){
    try{
      const response = await client.query(recommendProfiles).toPromise()
      console.log({response});
      setProfiles(response.data.recommendedProfiles)
    }catch(err){
      console.log({err})

    }
Note
Something to note, you will be getting some errors when rendering images that come from the request/response, thus you should add the following lines to the next.config.js
domains:[
      'ipfs.infura.io',
      'statics-polygon-lens-staging.s3.eu-west-1.amazonaws.com',
      'statics-polygon-lens.s3.eu-west-1.amazonaws.com',
      'cf-ipfs.com',
      'lens.infura-ipfs.io',
      ''
    ]
To test out if the response will be sent by the server run:
npm run dev
This is the response you will get as shown on the right, Then map the profiles on the frontend (return value) setting the profile handle, cover picture or profile picture, profile name and bio.
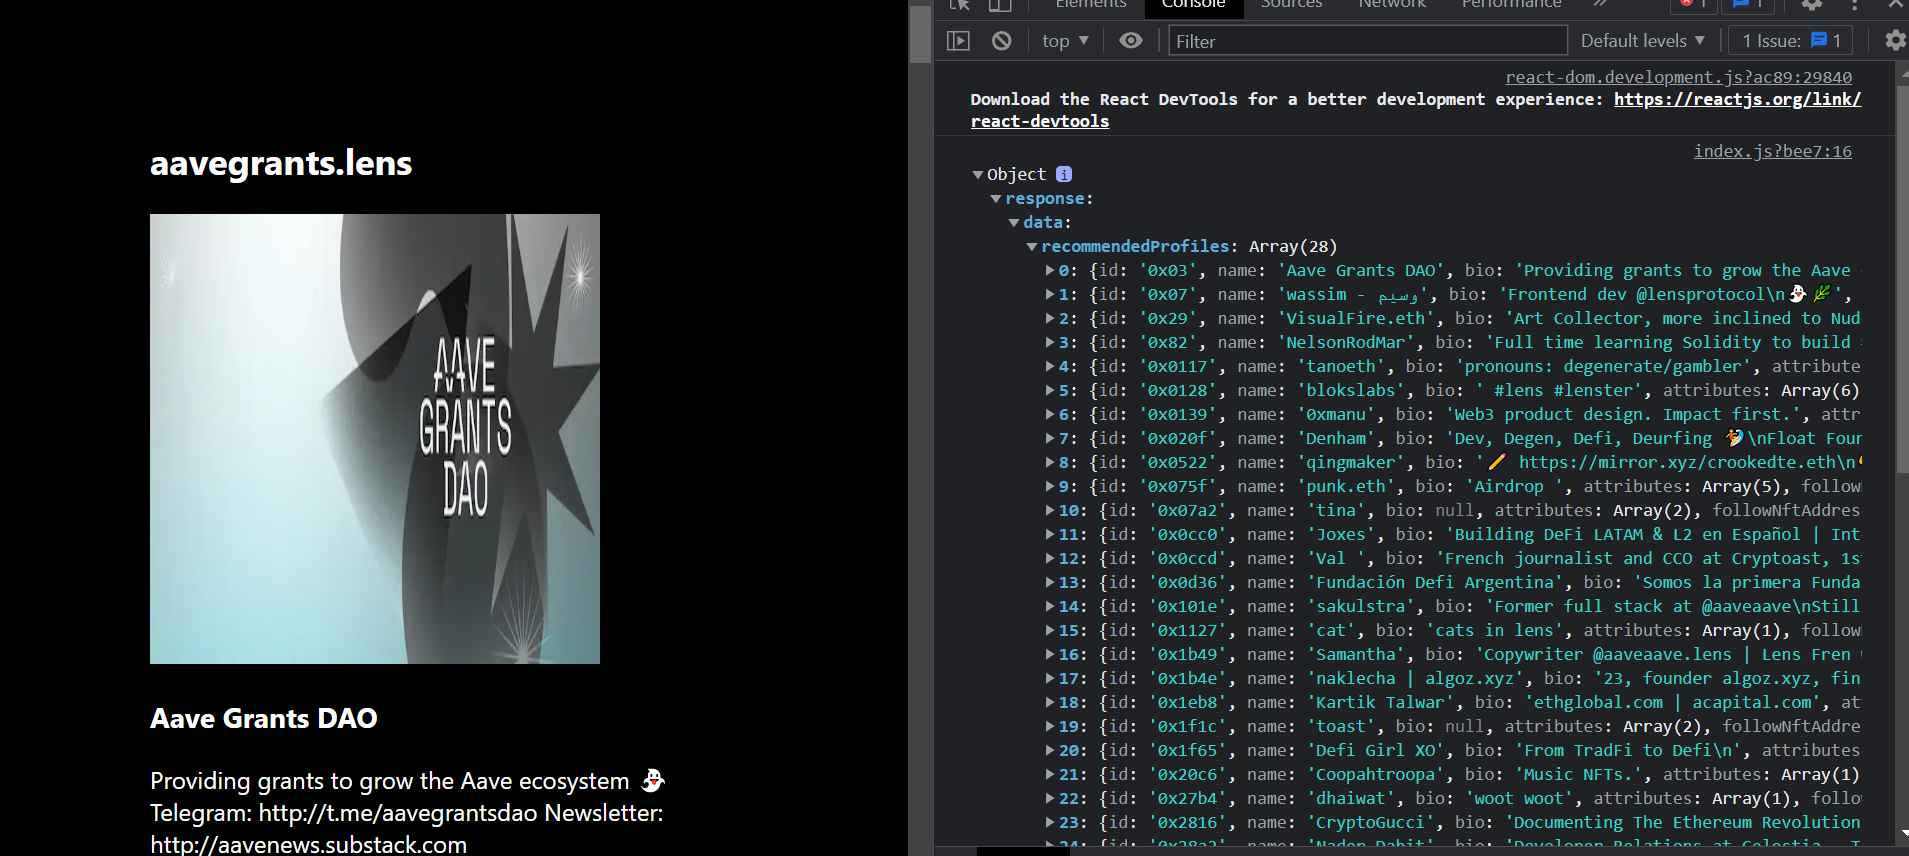
Return the profile details to be displayed as above.
Search For Profiles
Our applications also allows a user to search for a specific profile.
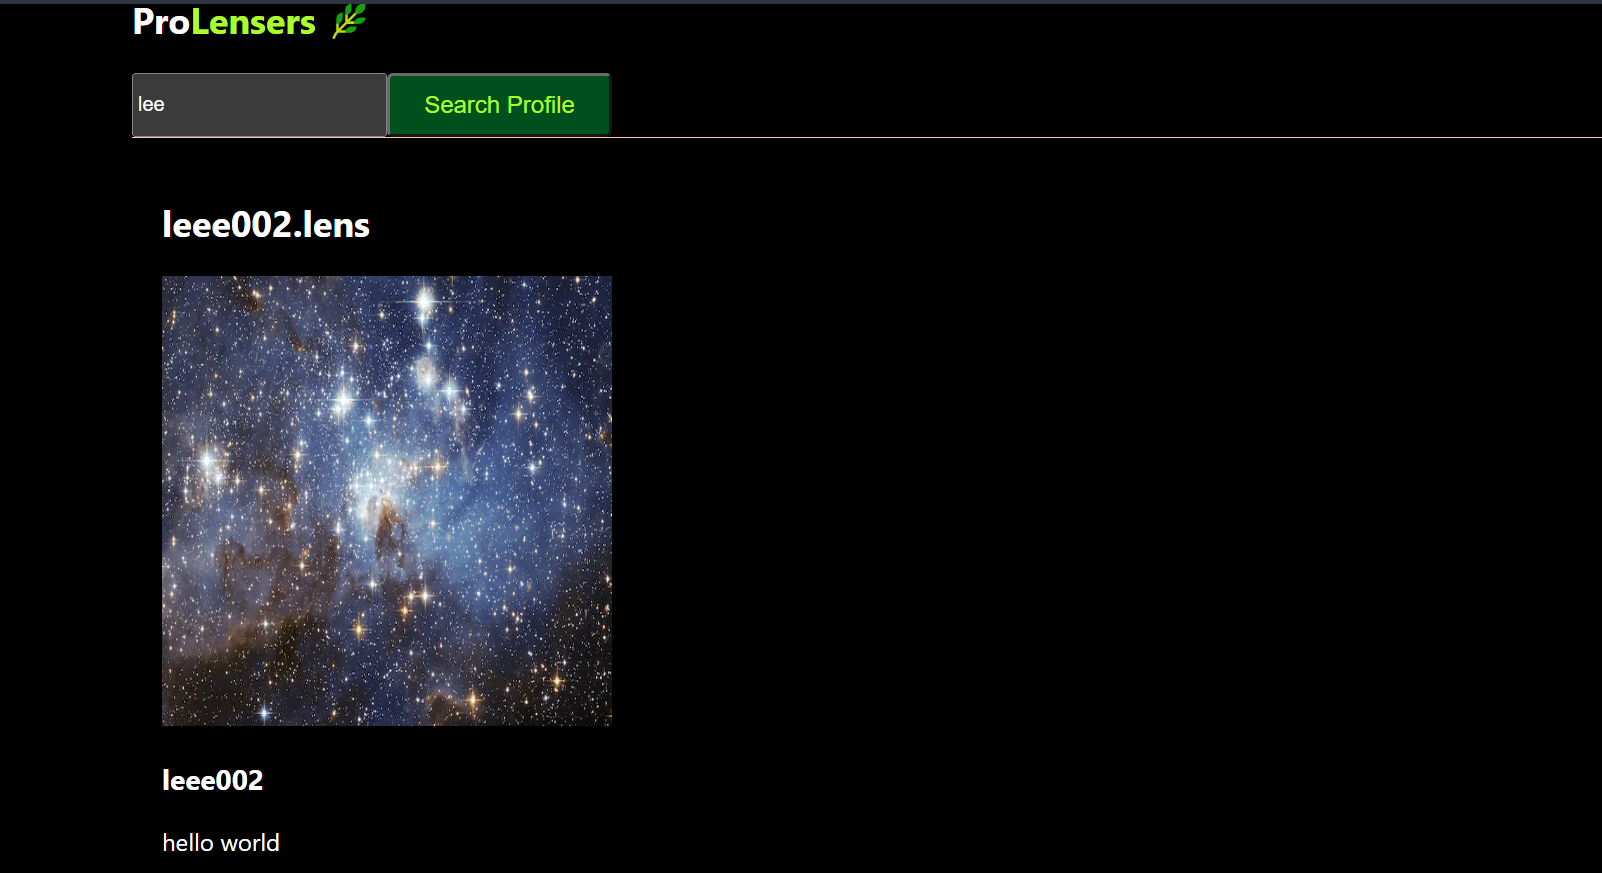
To enable this functionality, add the following snippet in your api.js file. You can get it from Search Profiles
You can also choose to search on publications using the ‘publicationSearch’ based on hash tags since full text search is not enabled
export const profileSearch = `
query Search($query: Search!,$type: SearchRequestTypes!) {
  search(request: {
    query: $query,
    type: $type,
    limit: 10
  }) {
    ... on ProfileSearchResult {
      __typename
      items {
        ... on Profile {
          ...ProfileFields
        }
      }
      pageInfo {
        prev
        totalCount
        next
      }
    }
  }
}
`
Get the complete code by profileSearch query from github
To render the searched profiles on the Frontend add the following lines of code and function to search for a user.
//import "profileSearch" from the api
import {client, recommendProfiles,profileSearch} from '../api'
const [search,setSearch] = useState('')
//function to search for profile
async function searchProfile(){
    try{
      const response = await client.query(profileSearch,{query: search, type: 'PROFILE'}).toPromise()
      const profileData = await Promise.all(response.data.search.items.map(async profile=>{
        profile.id = profile.profileId
        return profile
      }))
      setProfiles(profileData)

    }catch(err){
      console.log(err, "Profile not found")
    }
    console.log({profiles})
  }
Add the search elements
<div style={{display: "flex", alignItems:"inherit"}}>
      <input type="text" placeholder="Search Profile" onChange={e=>setSearch(e.target.value)} value={search} />
      <button onClick={searchProfile} style={{backgroundColor: "#00501E", color:"#ABFE2C", padding: "10px" , fontSize: "16px", borderRadius: "4px", width:"150px"}}>Search Profile</button>
      </div>
Profile By ID and their Related Publications
To get Profiles by ID use the same procedure to getRecommended profiles. Go to profiles-by-Id to get the profiles by Id query and paste it in api.js, though there is a small modification you will make to ensure you get a profile by a set ID.
export const getProfiles = `

query Profiles ($id: ProfileId!){

profiles(request: { profileIds: [$id], limit: 1 })
also, do the same for the publications and go to get-publications to query publications by the specific profile id. We will change to the copied query by specifying the publication type we need, which is just posts, and specifying the limit.
export const getPublications = `
query Publications($id : ProfileId!) {
  publications(request: {
    profileId: $id,
    publicationTypes: [POST],
    limit: 20
  })
Inside the pages folder, create a new folder “profiles” then add a new file [id].js. Do the following imports
lensapp>pages>profile>[id].js
import {useRouter} from 'next/router'
import { useState,useEffect } from 'react'
import {client,getProfiles,getPublications} from '../../api'
import Image from 'next/image'
import ABI from '../../abi.json'
import {ethers} from 'ethers'
Below are the states we will use to render any changes to the UI in regards to profiles and publications
export default function profile(){
    const[profile,setProfile] = useState([])
    const[pubs,setPubs] = useState([])
    const router = useRouter()
    const {id} = router.query
Create a function to fetchProfiles by id in the [id].js file and their publications.
async function fetchProfile(){
        try{
            const response = await client.query(getProfiles, {id}).toPromise()
            console.log('response: ', response)
            setProfile(response.data.profiles.items[0])

            const publicationData = await client.query(getPublications, {id}).toPromise()
            console.log('Publications:', publicationData);
            setPubs(publicationData.data.publications.items)
        }catch(err){

        }

    }
check on your browser console to see if profiles by id and publications responses are available once you click on a specific profile.
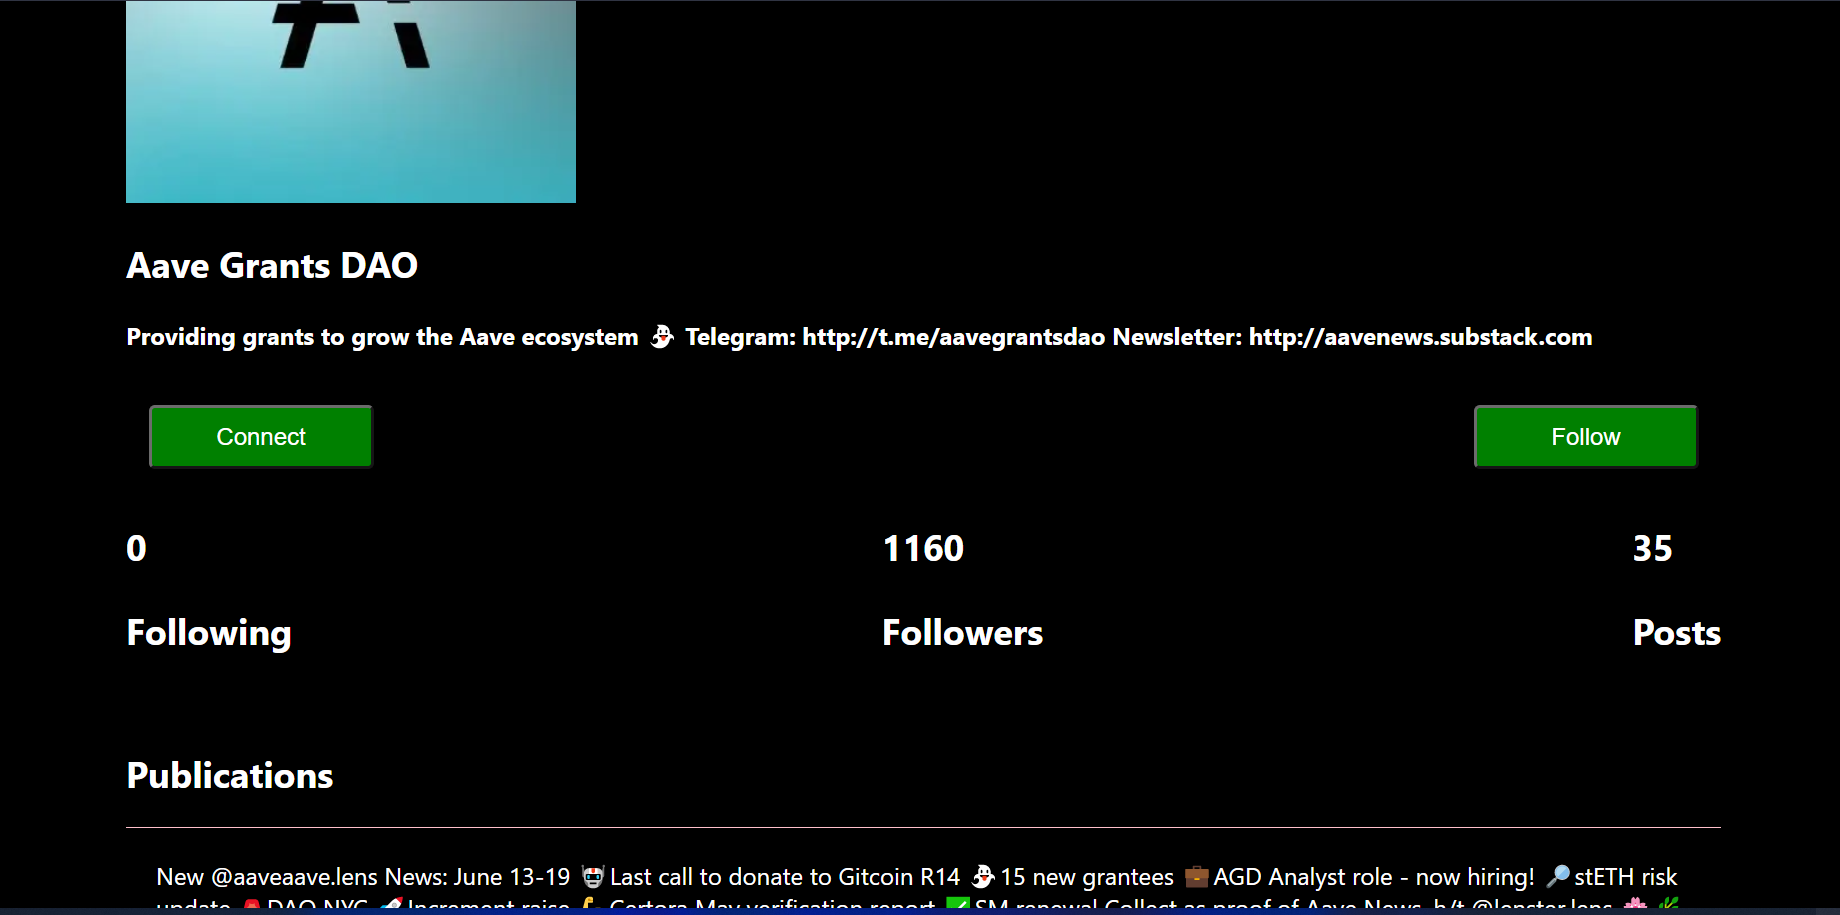
The following code displays the profile handle, name,bio and check whether the profile picture exists if not it will display a blank frame. It also provides details of the profile stats which are also available on the response.
return(
        <div>
            <h3>{profile.handle}</h3>
            <div>
            {profile.picture?
            (<Image src={profile.picture.original.url} width="300px" height="300px"/>):(
                <div style={{width:"300px", height:"300px", backgroundColor:"pink"}}/>
                )}
             <h2>{profile.name}</h2>
            <h4>{profile.bio}</h4>
            </div>
                <div style={{display: "flex",justifyContent:"space-between"}}>
           {profile.stats ? (<h2> {profile.stats.totalFollowing} <p>Following</p></h2>) :(null) }
           {profile.stats ? (<h2> {profile.stats.totalFollowers}<p>Followers</p></h2> ) :(null) }
           {profile.stats ? (<h2> {profile.stats.totalPosts} <p>Posts </p></h2>) :(null) }
            </div>
            <p>
                 <h2>Publications</h2>
                {pubs.map((pub,index)=>(
                <div style={{padding: '20px', borderTop: '1px solid pink'}}>{pub.metadata.content}</div>
            )
            )}</p>

        </div>
    )
Connect and Follow
We are going to create a function to connect your wallet with our social media app and follow a user. This is the point where we will interact with the blockchain, Make use of the ABI and the ethers library.
We need to get the contract address that will be used for contract interaction from :
https://docs.lens.xyz/docs/deployed-contract-addresses
grab the lens hub proxy and instantiate it in the [id].js
const address = "0xDb46d1Dc155634FbC732f92E853b10B288AD5a1d"
To get the ABI go to Lens hub implementation the go to Polygonscan contract’s tab and find the contract ABI copy it in abi.json file.
We then write functions to connect wallet and follow a user. The follow() function follows the given profiles, minting one of each profile's follow NFTs to the follower.
async function connect(){
        try{
            const accounts = await window.ethereum.request({
                method: "eth_requestAccounts"
            })
            console.log(accounts)

        }catch(err){

        }

    }

    async function followUser(){
        const provider = new ethers.providers.Web3Provider(window.ethereum)
        const signer = provider.getSigner()
        const contract = new ethers.Contract(address,ABI,signer)
        try{
            const tx = contract.follow(
                [id],[0x0]
            )
            await tx.wait()
             console.log("Followed user ,Congrats...")
        }catch(err){

        }
    }
We then write the code for the two buttons to trigger wallet connect and follow a user. You can add more functionalities such getting a user by handle, publication type, comments and mirrors, You can additionally change the user interface as per your preference.
<button onClick={connect} style={{backgroundColor: "Green", color:"white", padding: "10px" , fontSize: "16px", borderRadius: "4px", width:"150px"}}>Connect</button>
<button onClick={followUser} style={{backgroundColor: "Green", color:"white", padding: "10px" , fontSize: "16px", borderRadius: "4px", width:"150px"}}>Follow</button>
Future Of Lens Social Graph
Social Graph/Algorithm NFTs
In the future tokenization and monetization of specific social graphs will be made possible so that front-end developers can build on them to help their users to find and explore new content will be made possible by the Lens protocol will be made possible.
The complete project code can be found on Github and Radicle. If you are more of a visual learner, you can refer to this Youtube Video, by Nader. Furthermore, you can use the Lens documentation to explore the API and add more functionalities.

